One of my loyal students brought me an amazing chunk of raw organic beeswax from Co.Kerry, it can’t get more Irish than this coming all the way from Killarney Co. Kerry. I told her I would buy some beeswax she reckons was a great quality but I didn’t not expect the big raw chunk (dirt included) loved it !!. Never cleaned beeswax before but I was excited to do it , I love everything handmade and natural process, so here I was facing another challenge (love challenges) to learn something new and share it with you all. After giving me this piece of beautiful golden looking beeswax she sent me a link where they explain how to clean beeswax manually.
It looked a bit daunting at the beginning, but sure look ! I have learnt to make other things much more difficult why wouldn’t be able to do this ?. To be honest I said to myself when reading the website link : ” ok I will do that in another moment”. A laziness feeling overtook me 🙂 this was October 2017 and we are now 18th of March unexpected snowy day in Dublin, indoors Sunday !! I have run out of beeswax and I am running a beautiful body products workshop this Saturday, therefore I need beeswax urgently so no more excuses!
METHOD OF WASHING, CLEANING AND FILTERING RAW ORGANIC BEESWAX
Here is my method that I follow from that website but I have added a couple of important tips that I have learnt during the process.
First thing put the beeswax chunk in a pot (a pot you will never use again !!) and cover with water .Put the heat on and simmer until beeswax is totally dissolve in the water. It will look like very shiny, like a mirror actually. WATCH THIS PROCESS TO PREVENT THE BEESWAX TO IGNITE
Let it to cool down completely . To help this process place the pot on the floor near a patio, terrace, garden door. It speeds up the process a lot !
Beeswax will set on the top and the water will remain underneath . It will look like a cheese cake.
Now the difficult part is to take out the beeswax from the pot as it will stick all around the top.
TIP ? (Thanks to my Irish husband )heat the knife slightly and then cut around the edges and cut a portion as it was a cake like in the pic below.
Scoop the pieces out , cut the dirty part out of the beeswax and place on a kitchen roll so it will dry any remain water.
Now the beeswax has been washed is ready to melt in baine- marie to then filter quickly through a stocking
yes a tight is the BEST BEST filter as the holes are tiny and will hold any tiny dirt particulars. See the pic of using stocking as a filter when I made carrot oil last summer.
TIP do not make the tight to long otherwise it will make a mess as the beeswax sets pretty quickly and the tight will stick everywhere in the jar.
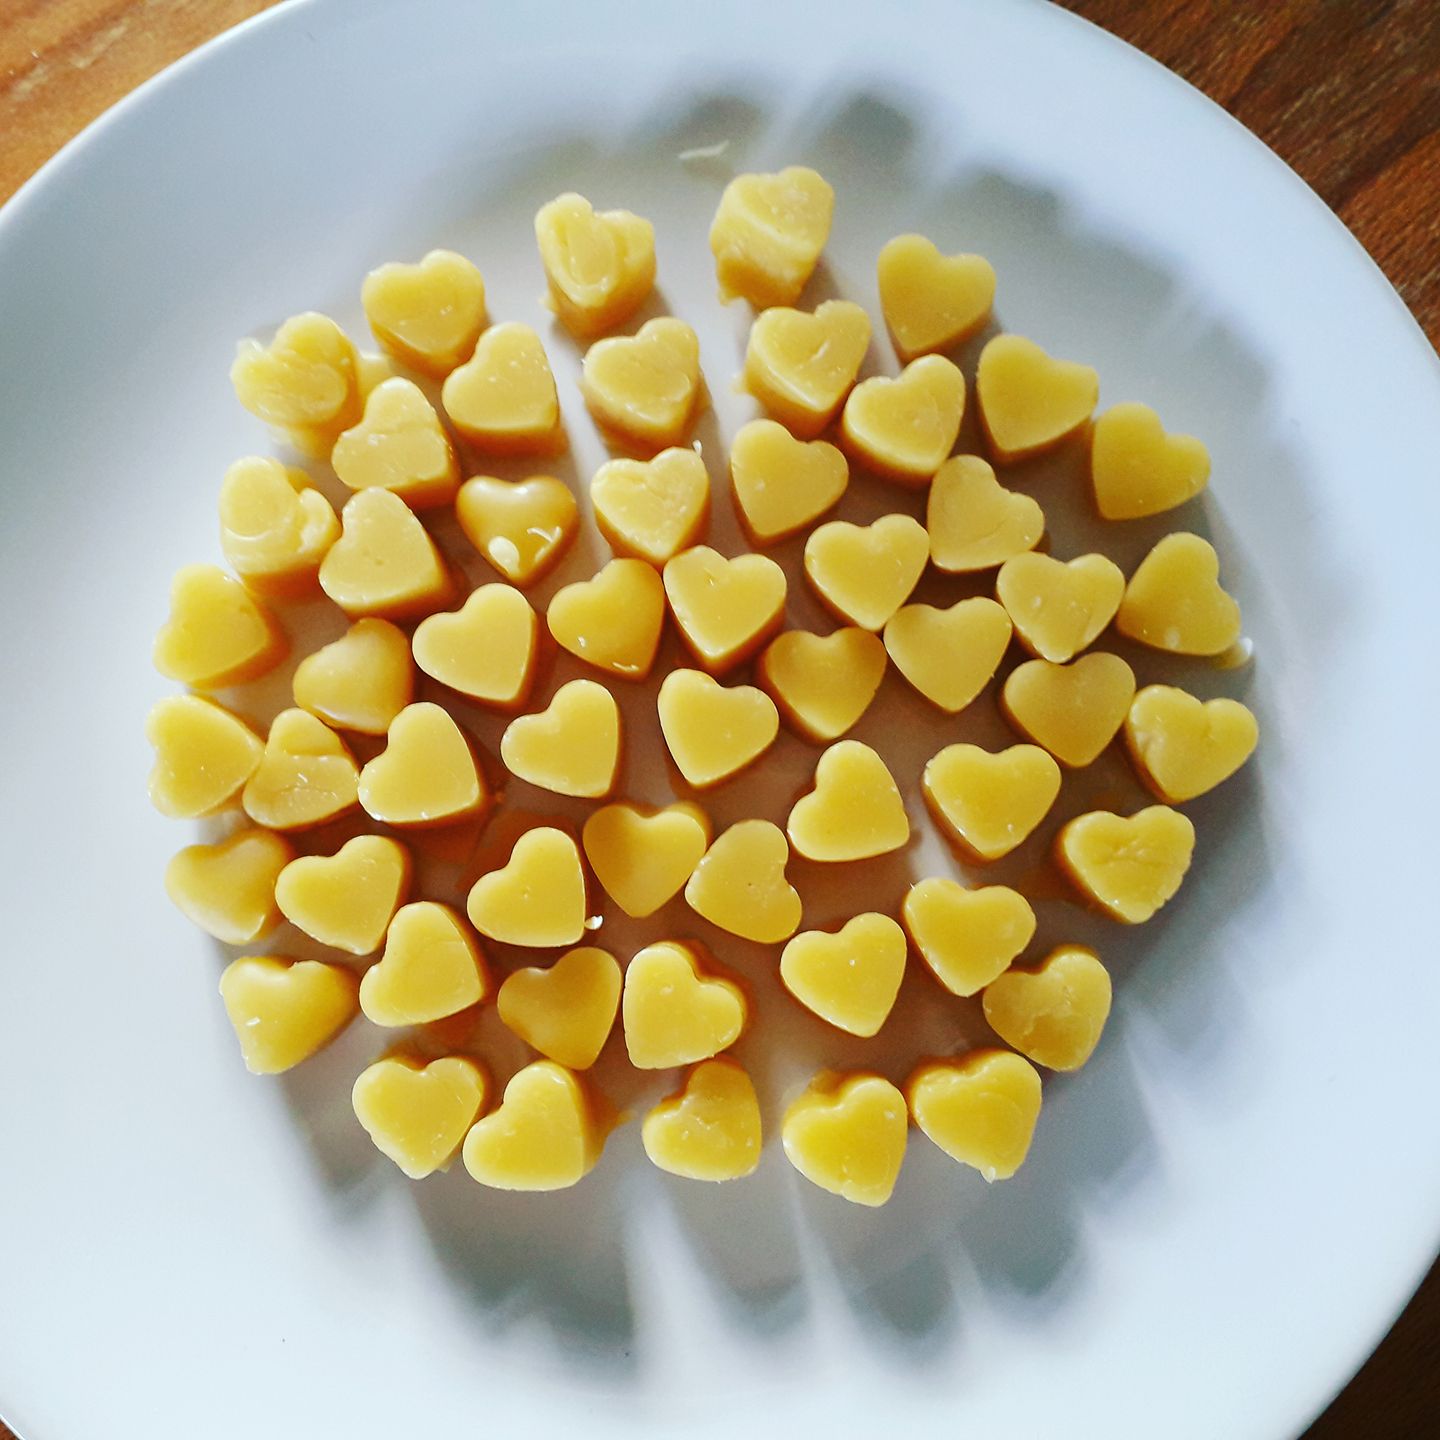
Pour the filtered beeswax in any silicone molds you have to make nice cute shapes of beeswax- not too big though- so they will be ready to include in your skincare formulas.
Tahdaaaah!!!
Cute little beeswax hearts that my youngest daughter (partner in crime) stored them in a glass jar, label it and hid it in her room . She won’t allow me to use them in my skincare classes , she said: “Mummy they are too cute to use ”
Hope you find this post helpful
Thanks for reading
La Mayca x